


TOP SELLERS
-

RC-8 PERCH REBUILD KIT CP-511
Add to cartYears: 1990 – 2023
Model: RC-8 PERCH REBUILD KIT
Type: Kit -
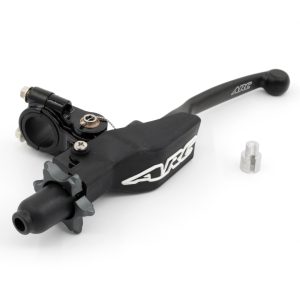
DC-8 CLUTCH PERCH ASSEMBLY CP-304
Select OptionYears: 1990 – 2024
Model: DC-8 -
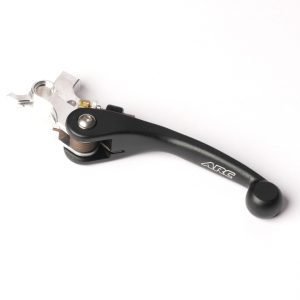
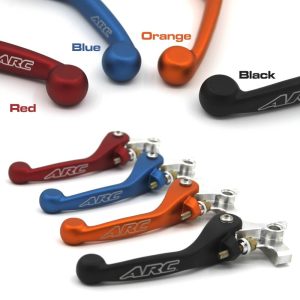
CLUTCH LEVER KTM 09-24 CL-203
Select OptionYears: 2009 – 2024
Model: 450 XC-W (BREMBO)NOTE : OEM LENGTH IS THE SAME AS A SHORTY LEVER
-
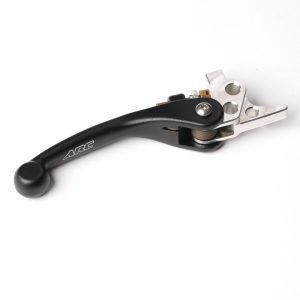
BRAKE LEVER KTM 14-24 BR-214
Select OptionYears: 2014 – 2024
Models: 350 SXF / XC-F / XCF-W / EXC-F


